
Plan your visit
Transferring Images to Wood
February 1, 2013
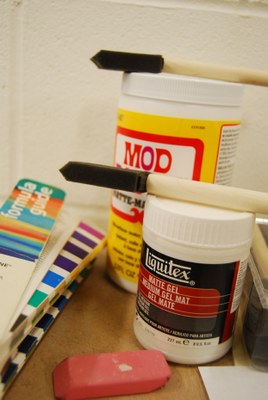
In Exhibit Design, every day is a chance to try out a new technique.The Exhibits team discovered that transferring images to wood is easier than one might think! Here’s how it works, step by step, so you can try this at home.
To get started, all you need is some laser jet prints, gel medium and Mod Podge. You can buy these items at any craft store.
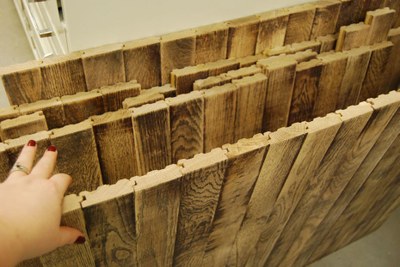
These wooden signs were assembled and glued together by our fabricators, Roger and Jim. They are the perfect base for our exhibit signage. Roger and Jim distressed the surface of the wood with a palm sander.
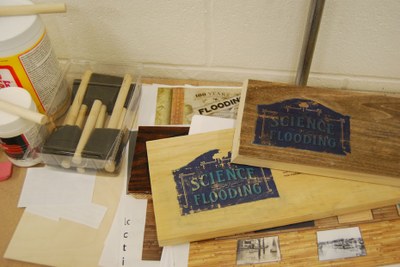
One of our fantastic interns, Cory Wright, was the one who taught us the process. Cory spent the previous week testing the process on scrap pieces of wood.This ensured that he would get a good result once he moved to the larger signs. Ifyou are planning to try this at home,I highly recommend testing the process on a scrap piece first before moving to your final material.
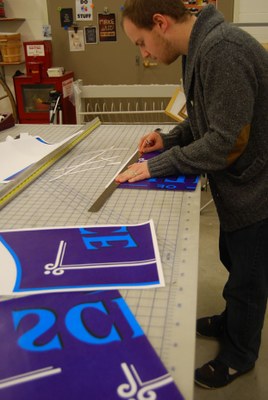
Cory made tabloid-sized prints of his design on our in-house laser jet printer. In order for the image to transfer, you have to use laser jet prints. Inkjet prints won’t work with this method. If you don’t have a laser printer at home, you can always have your prints made fairly inexpensively at Kinkos or Staples.

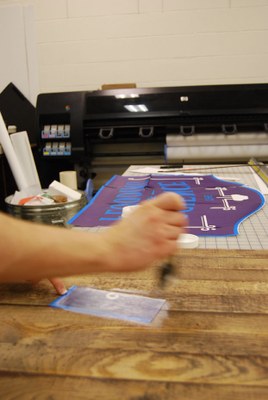
Next, apply the gel medium to the front of your prints and apply it image side down to the wood. This will allow the print to adhere to the wood’s surface.
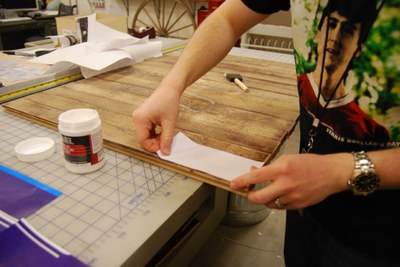
Once you apply all of your prints, you let it dry for two days. After testing, Cory determined that a two-day drying time is the right amount of time to get the best result.
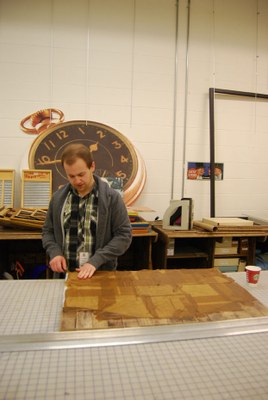
Two days later, Cory soaked a bunch of paper towels down with water and completely covered the paper surface. You want the paper to get as wet as possible so that it will rub off easily.
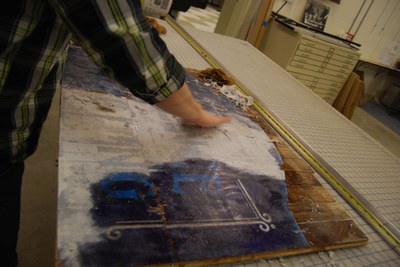
Here’s the fun part! Once the paper is nice and soggy, Cory started rubbing the paper away to reveal the image.
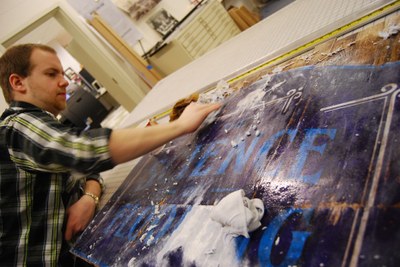
We discovered that it is much easier to remove the paper if you use a wet cloth.A terry cloth towel would most likely rub away too much of the image.The cloth we used was a polyester blend which was gentler to Cory’s design.

Here is the sign after rubbing away all of the paper. At this stage in the process, Cory went through and purposefully distressed the sign further to show the damage of floods on materials.
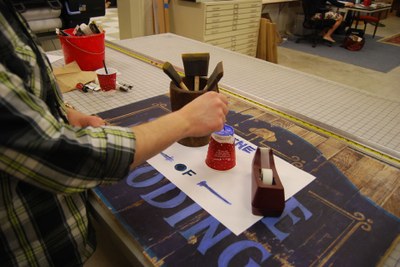
To enhance the contrast of the letters against the blue background, Cory cut his own stencils and hand-painted each letter.
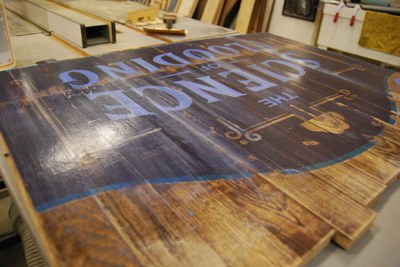
Here’s the final sign, ready to be cut out and hung in the exhibit. What do you think of the process and the result? Are you interested in trying this at home?
_________________________________


